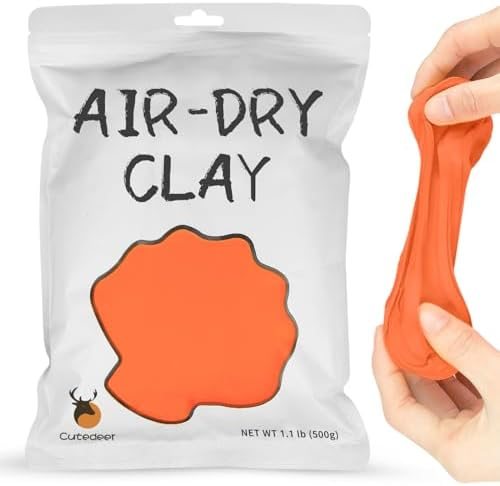
Why green goes first
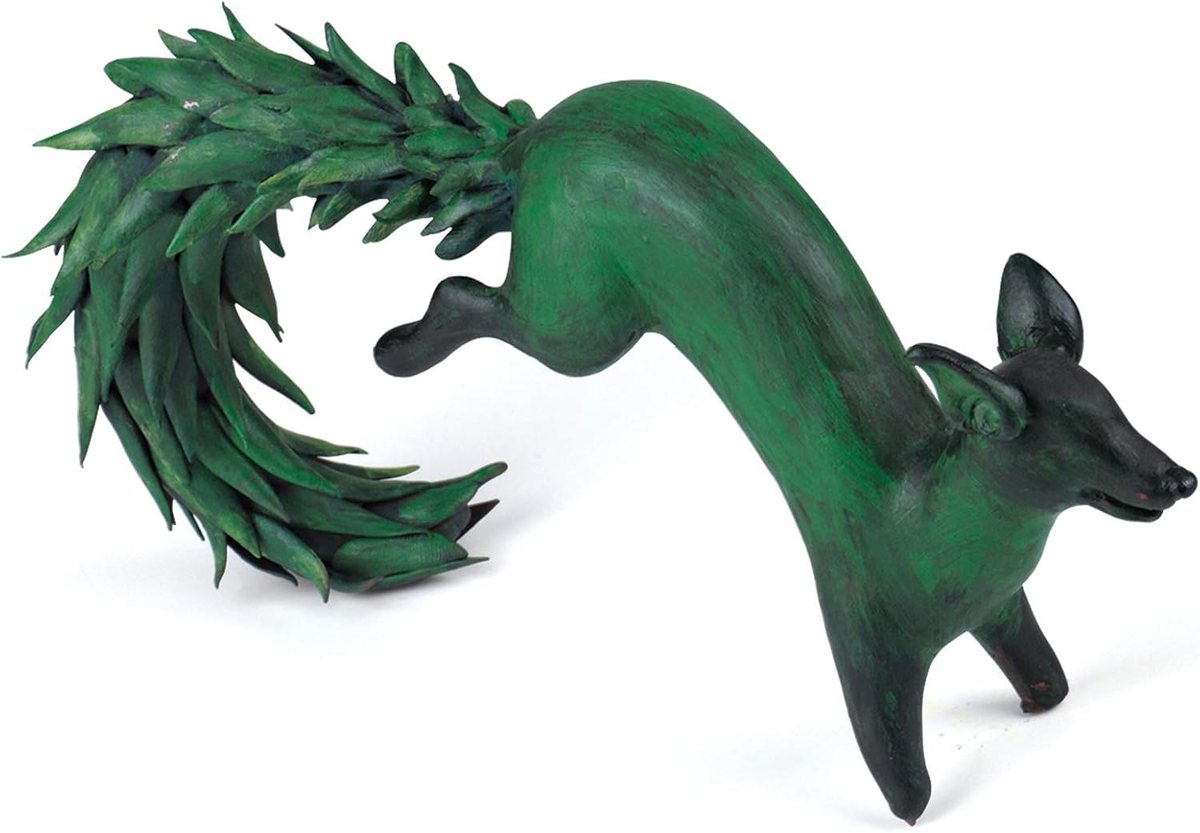
Look at any finished clay diorama and most of it is green: the ground, the canopy, the bushes between the animals. A multi-color kit gives you one small block of it and expects that to carry a jungle, which it never does. This is the shade to buy by the pound if anything in the house is building a landscape.
The tone is a mid leaf green rather than a bright poster green, which means it sits plausibly next to brown and does not shout. Kneaded with a little white it becomes the pale underside of a leaf; with a pinch of black it becomes the shadow at the base of a tree. Two extra shades from one bag is a real saving of both money and shelf space.
Texture and working time
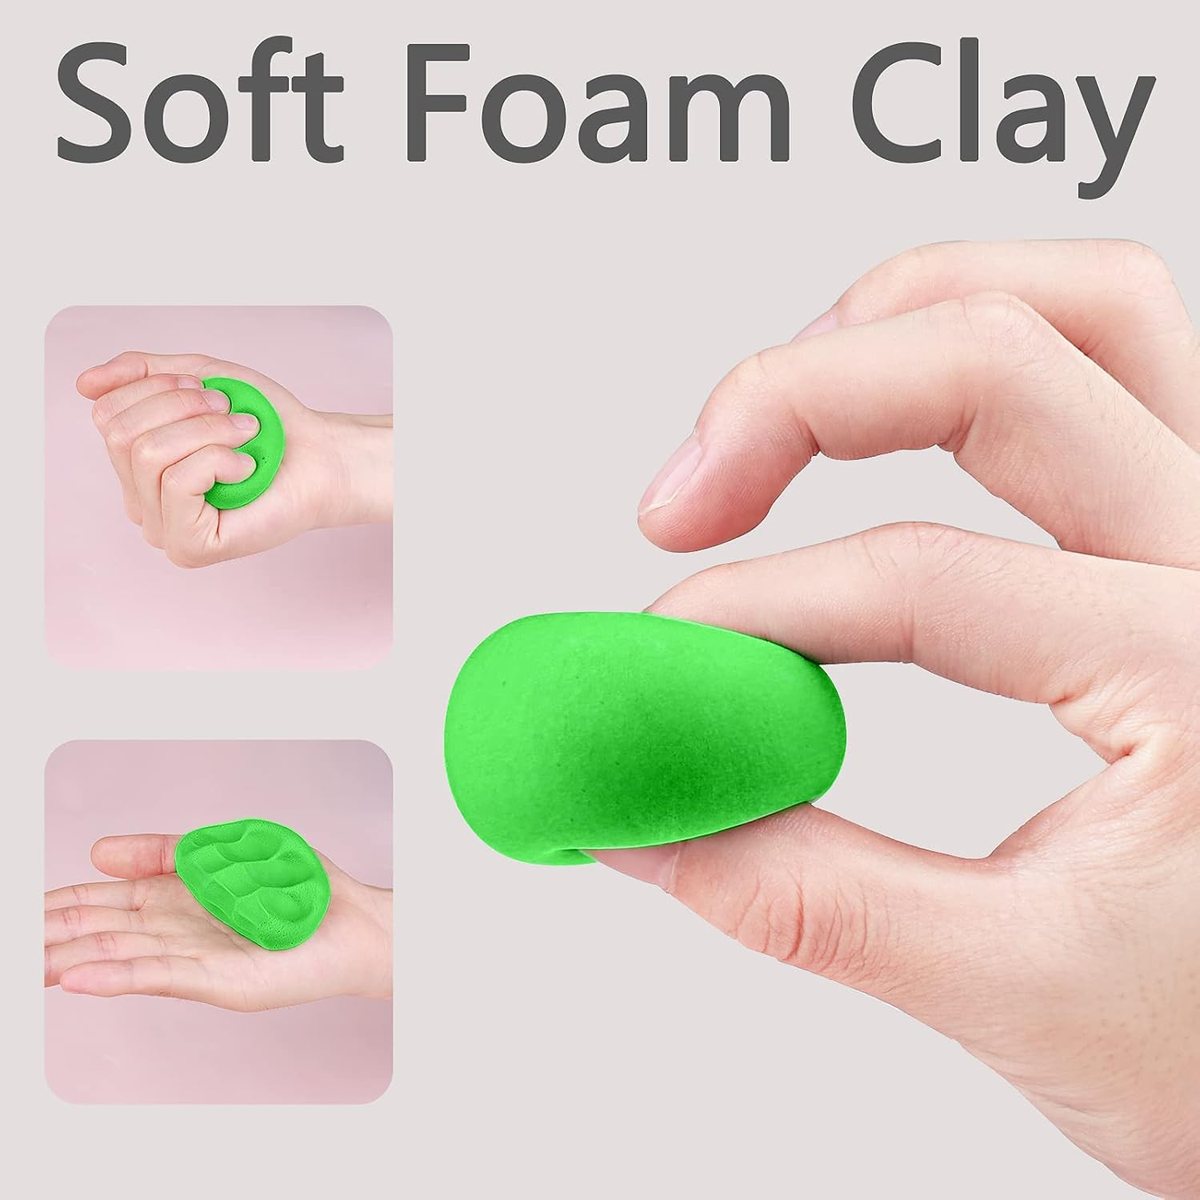
Soft, light and very slightly springy, this clay rolls into a sheet without cracking at the edge, which is what you want for leaves. Cut the sheet with any blunt edge and press the veins in with the back of a knife before it sets. You have a comfortable working window of ten to fifteen minutes on exposed clay; keep the rest sealed while you work and nothing is wasted.
Joining is pressure only, no water and no slip. A leaf pressed onto a branch while both are soft becomes one piece as it dries.
Drying and what to expect
Flat leaf shapes are done overnight and stay light enough to glue onto a card. Thicker forms, a frog or a cactus, want a full day and should be hollowed if they are larger than a walnut. Dried green holds its color well and does not chalk, so a scene made now still looks right on the shelf next spring.